
Music reviews
&
helpful information about recording and mixing techniques. Posts written by professional engineers and musicians.
Learn about the inside secrets that engineers at Shine On Studio use in their sessions. Become a mixmaster and impress the world with your knowledge of audio production.
Multiple mixes will always yield a better album
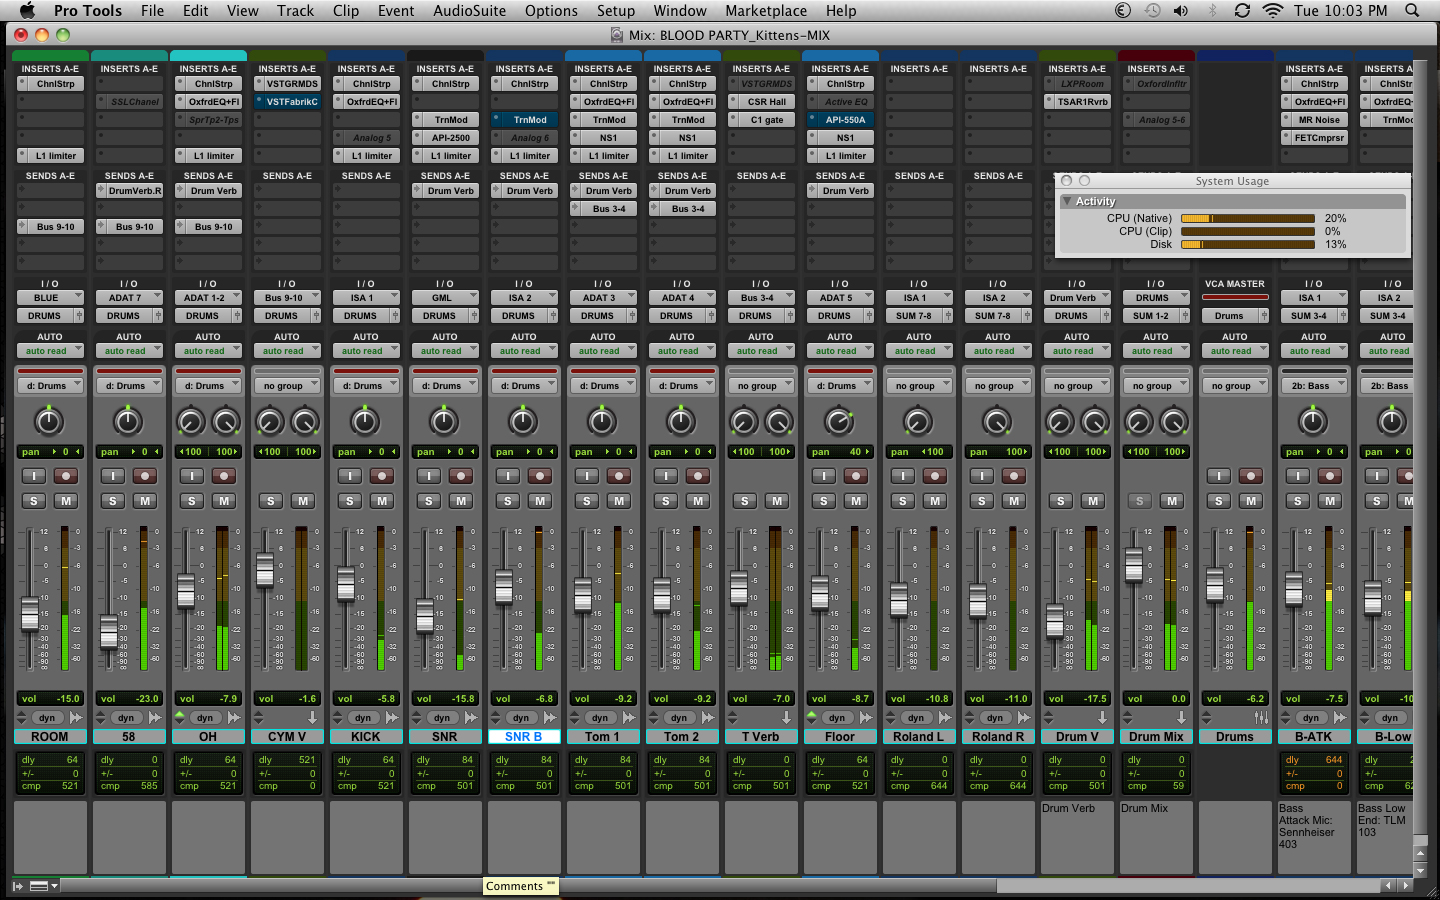
Multiple mixes of a song is a technique that I've developed over the many years of my career. Music tends to unfold differently every time you approach a mix. If you're using a program that allows you to save or save as multiple times, such as ProTools or logic, it's not a bad idea to try a new mix even if you think you nailed it the first time.
Here's how I like to set up my sessions. After I record, I like to save the session as just a raw track that hasn't been mixed. Then 'save as' the name of the track_mix1. This way I have a template to go back to when I want to create a new mix. You can repeat this process as many times as you like. I usually tend to think at least three mixes is a good reference point to determine whether or not you like a mix. Sometimes it's a good idea to try up to 10 mixes.
Try this, set up a timer and give yourself a time limit for the mix. Anywhere between 10 to 15 minutes should be enough time to get a good rough mix. When the timer goes off, save your mix session, close it, & open a new session.
After you feel that you've made enough versions of the mix, go back and review each of the mixes. You can bounce each of the mixes down as an MP3 file and put them on your phone or MP3 player. Then go for a run, take a drive, or head over to a friend's house and listen to your mixes outside of the studio. This will give you a reference point as to which mix is probably the best and/or if a few mixes should be worked on and handed to a client for review.
Try this technique on your next mix and see what happens. You may be surprised that the third or fourth mix is actually the one that you wind up keeping.
Turn your speakers up, not your meters
If I had a nickel for every time I had to turn down levels on the tracks I receive when I'm doing a mixing session, I'd be a millionaire. If you want to hear what your mix sounds like at a louder volume, try turning up the volume on your monitors first. Don't push the faders all the way up or use a compressor/limiter, you're only doing damage to your mix.

Set up a reference track! Just import your favorite song into your DAW session and listen to it through the monitors. You have an idea what that song sounds like so you can use it as a reference point to calibrate your system and get a good point of reference for your mix. Mixing without a reference track is like driving a car blindfolded. Not a good idea.
Most DAWs come with a metering plug-in or a metering software program. Use it! It's there for a reason. Metering helps you get a good idea of how loud your mix actually sounds. If your DAW doesn't show RMS levels, there are a bunch of programs out there that are free and will give you a good reference point for your RMS levels. Try and give each of your mixes at least 10dB of dynamic range. If possible, give your mix anywhere between 15dB to 20dB of dynamic range. You'll notice a huge difference in the audio quality of your mix if the dynamic range has lots of room to breathe.
Louder is not better if your mix has a bunch of digital distortion. If no one will listen to you music, it's probably not the content, but rather the lack of quality mixing that was put into the music. Take the time to give your music a real good listen. Critical monitoring is so important to making sure that you get a good mix. Don't over compress and don't smash your limiter or compressor so that your meters are all the way maxed out at 0 dBFS.
The How To Guide for Buying Recording Gear
The influx of recording equipment has moved the music industry to new heights. Companies like AVID & Focusrite, just to name a few, have made home recording possible for thousands of bands and musicians. Music is flourishing in the world and more and more people are finding out that making music is simple and rewarding. Virtual instruments can now be tracked with MIDI to accompany a solo artist. Now it's possible for one musician to compose a whole album on their laptop or tablet. This is truly the dawn of digital music and the possibilities continue to mount as more and more companies are networking to bring audio tools into the homes of millions around the world.
Now that you're excited about recording, I just want to help you get started. Before you buy anything, do a little bit of research. Read a few reviews from different sites and don't hesitate to ask a professional about what they recommend. The best information is going to come from actual musicians and engineers that are using the equipment on a regular basis. Pretty much all the gear available today is a good investment. Most hardware interfaces come with their own software, so you've got what you need to get started.
Take it slow at first. Buy an interface and some headphones to get you started. You don't have to invest in a whole studio right away. Build your studio piece by piece and spent time figuring out what works best for your recording and mixing setup. If you can buy used gear from a trustworthy source, try that first. Save some cash so you can get your studio off the ground without breaking the bank. I've had my Digi002rack for years and it is still tracking and mixing like a champ. You can find one on eBay for about $200-$300 and will be a great place to start your recording education.
Again, most of the gear out there is affordable and you don't need to spend all your savings on setting up your studio right away. Buy a few key pieces and then start recording. Once the cash flow starts coming in, you can put some aside for investing in new gear. Do some research and ask some questions. The reps at Sweetwater.com are really helpful and if you want to talk with my rep, Joseph Secu x1232, he's a wealth of knowledge for all the gear they have for sale.
I hope all of you have a happy holiday season and make some great music.

Vocal EQ mixing secret: High & Low Pass Filters
Good vocals always need to sit perfectly in the mix. Here's some insight from Engineer David Hughes on producing and mixing vocals.
EQ can be the most elusive part of mixing. Presets are a good starting point, but 99% of the time they don't get the job done. You've got to know all the parameters of your EQ. HP & LP filters usually go overlooked when it comes to EQ. However, these can be some of the most critical tools you use. Extreme high and low frequencies can cause a lot of congestion in a mix. Take the time to use filters and roll off some of the high and low frequencies on each track in your mix. By sculpting your tracks with HP and LP filters, you will find that your tracks fit together sonically.

In addition to the filters, you can use the Maag EQ4 on your vocal tracks and get out-of-this-world results with a simple turn of the knob. The EQ4 has the "Air Band" built on the top end of the EQ and allows you to dial in the right amount of shine and shimmer in a vocal track. This allows it to open up and sit perfectly on top of the mix. At the moment, the EQ4 is only sold as a 500 series module, so you'll need to do a little investing in your studio to add this magical piece of gear. Trust me when I say that you will not be disappointed. There have been so many times when I just give the 40KHz a 3dB boost and all of a sudden the vocals come to life. And yes, I did say 40KHz. You just have to hear it to believe it. The rest of this EQ is also excellent on almost any track. The SUB knob also works as a filter and allows you to carve out any low frequencies that may get too boomy or muddy in your mix. This is the magical box!
Now in vocal tracks, there's not a lot of detail or useful information in the low frequencies. Use the filter to roll off the low end up to about 100 Hz. Don't stop there, move the curve up until you find the right amount of low end reduction to help the vocal sit in the mix. Use a gentle curve to make sure you don't get any phasing problems. A 6dB or 12dB curve will work best for this sort of filtering. A steeper curve will usually cause phase shift and this will result in the vocals going out of phase with the mix.
Be sure not to do this with the track in solo mode. You need to mix your vocal in the mix. The world is not going to hear your vocal tracks in solo mode, so don't mix them that way. You can solo the track to A/B the mix against your vocals, but ultimately you should make decisions while listening to the vocal in the mix.
Hope this is helpful in getting you going with your vocal recordings. Please leave a comment if you have a question. For more info and video tutorials on audio production, please check out my audio mixing master class on Udemy.
Seeking the perfect drum tone

Blood Party tracking at Shine On Studio
Our pursuit of bigger and better drum mixes is never-ending. There has been a lot of experimentation with acoustic sets, electronic sets, triggers, MIDI samplers, and loops. Though an eclectic combination of all the different sounds has been the best result, a pure acoustic set mic'd up is the ultimate goal. Aside from the obvious option of tracking on a Neve or SSL board, our experiments have led us to use different types of mics. Mics designed for tracking guitar amps have been very useful on toms. Using an AKG D112 on the bottom of the snare has given us some nice deep snare tones.