
Music reviews
&
helpful information about recording and mixing techniques. Posts written by professional engineers and musicians.
Learn about the inside secrets that engineers at Shine On Studio use in their sessions. Become a mixmaster and impress the world with your knowledge of audio production.
Gain Staging
Advice on how to make good use of the meters in your DAW and learn how to properly read them.
Getting the right levels in your mix is the very first part of the recording process. Paying attention to your input levels can pay dividends when it comes to the mixing process. Proper levels will yield a much more streamlined workflow when it comes to sitting down to mix.
So you maybe asking yourself, “What are the proper levels that I should be trying to achieve?“
The answer to this question can vary. You have to have a vision for the end result. If you don’t have that vision, then you should focus on getting levels that optimize your A/D converters. Most interfaces are calibrated for a sweet spot around -20dBFS to -16dBFS. Hitting this area as your target RMS level will almost always give you ideal tracks to mix.
Now if you’re sitting there scratching your head and not quite sure what all that means, don’t worry. Here’s a good rule of thumb to follow. Most meters in DAWs have a color coded display. Typically green is at the bottom followed by yellow, orange, and red. If you get your average level to hover right around where the green and yellow meet, then you’re in the ballpark. This means the middle point between your peak levels and your noise floor is close to that point where the meter changes colors.
Now of course it depends on what you’re recording. Different types of sound sources are going to give you different levels. Drums are going to have very sharp attacks that will yield higher peaks. Where as a vocal that isn’t too dynamic may just hover in the same area with little movement. One of the biggest problems that I see other engineers make is the level of their monitoring. Having your monitors up too loud or down to quiet will not truly give you a representation of the signal level. This is why you have to trust the meters and your DAW and let them show you what is actually happening with you levels. These are just pretty lights for you to look at while you’re working on your tracks. These are useful tools that can mean the difference between a good or bad mix.
It’s always a good idea to leave yourself some headroom when you’re tracking. You will want to have some space to mix and that is virtually impossible when your input levels hit -3dBFS or higher. Just be reasonable when you set your levels and keep in mind that you will be blending multiple tracks to mix down to your final print track.

Recording Hip Hop Vocals Tips and Techniques
Getting ready for a big studio session? Then you will want to prepare for giving your best performance on the mic. Knowing what to expect and making sure that you get the most out of your studio time is essential to making a great album. Here are some tips and things to consider before you step into the studio.
Vocals are the core of Hip Hop and recording them can be the make or break moment. All Hip Hop artists that come to record at Shine On Studio are looking for "clean" vocals that have transparent clarity and rich tone. Now, how do you capture these vocals to produce the next big hit song? There are a few steps that are crucial to the success of the track and they need to be taken care of before arriving at the studio.
First, the throat needs to be in good shape. This means no drinking cold fluids before coming to the studio. The iced coffee and 7-Eleven Slurpee are an absolute deal breaker. A cold throat is constricted and cannot provide the quality vocals that are needed on a hip hop track. Room temperature water or hot tea are a good idea to relax the throat and keep in loose for the performance. If your suffering from a cold or allergies, honey is a good way to soothe the throat and prep it for the session.
Second, warm up before the session. Just as athletes stretch and get loose before a game, vocalist need to warm up their voice before a performance. Recording is a permanent process and once the recording is complete, it is etched in stone for all time. When fans are going to listen to your recording over and over for the rest of time, it is a good idea to make sure you put your best performance on the tracks.
Writing your lyrics down is a good idea, but rustling papers in the vocal booth is a really bad idea. Here at Shine On, we've installed a magnetic board in the vocal booth for vocalists to hang their lyrics up on the board to keep the papers still, but also easy to see. Music stands also work, but you don't want to be looking down while singing, so a magnetic board or a cork board at eye-level is a really easy way to keep the head up and the throat straight.
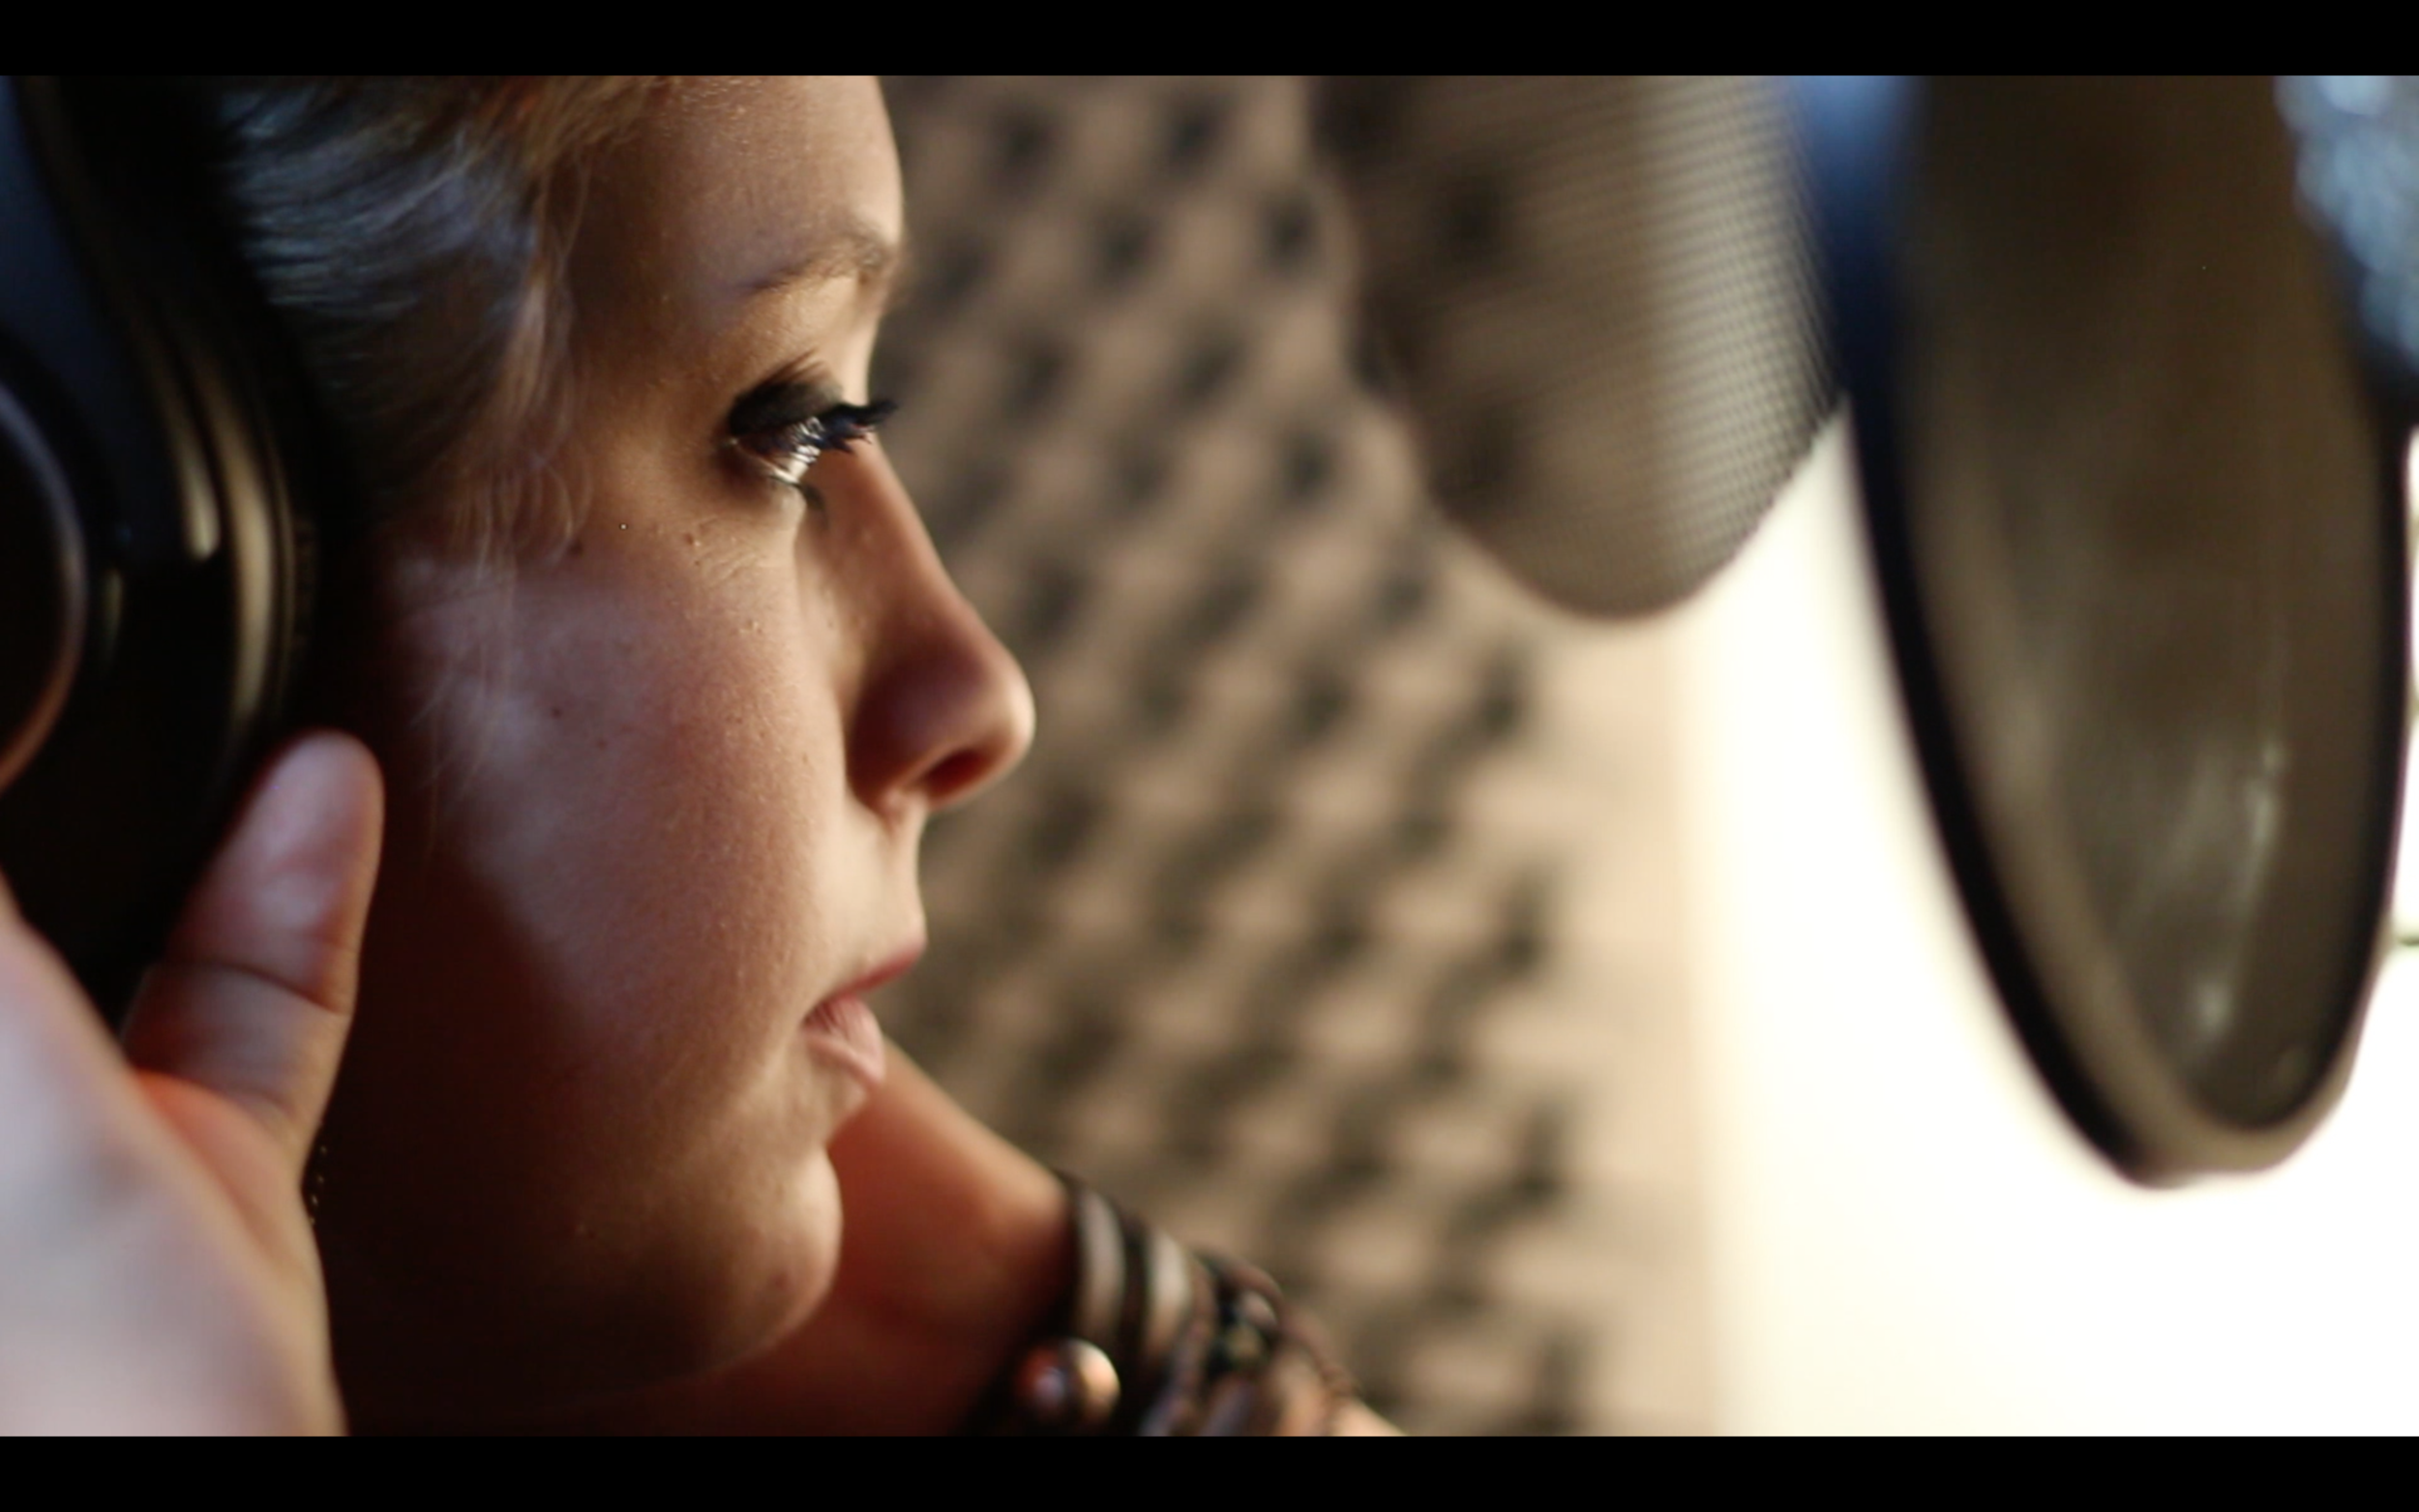
Headphones are really important and the right pair can improve a vocal performance. It's good to have closed headphones that go over the ear to keep the bleed to a minimum. There are many types of headphones out on the market, but closed headphones work the best for tracking vocals. The Shure SRH840 headphones are a good choice for quality and performance at an affordable price.
These are just a few key tips and techniques that you should use when recording vocals. For more info on getting quality recordings, contact the studio staff.